
When I was a young girl my father had a huge backyard garden. I didn’t understand the big appeal of the garden back then, mostly because I had to spend so many weekends in the hot sun helping to pull weeds! My Dad always had a great yield of tomatoes, cucumbers and other delicious greens.
One day last year on a whim, I decided to start my own little vegetable garden. I wanted to do something outdoors so that I would have more of an excuse to enjoy the sunshine instead of staying inside all of the time in front of a computer screen. I knew absolutely nothing about gardening, so I winged it mostly.
This began my love of gardening. Although I started planting VERY late in the season (the last week of July) I got the most beautiful yield of cucumbers, greens, buttercrunch lettuce and carrots. I am now excited about the prospect of starting another one when the weather is just right.
So if you are even remotely interested in gardening as a first-timer, here are the steps I took to get mine started. I may not be an expert just yet, and am still studying the best methods, but this is what worked for me. If you’re a first time organic gardener, just start small with a garden sized at about 5′ x 8′ — you can always expand it later.
Things you’ll need:
The best preparation for good work tomorrow is to do good work today.
– Elbert Hubbard
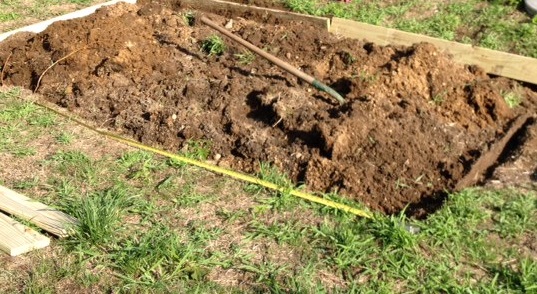 The first and probably most time consuming step for me was preparing the soil and the area of the garden. I purchased a few bags of organic garden soil and one bag of miracle gro soil (whether or not a garden can still be considered 100% organic when using a Miracle Gro product is up for debate–I used the soil in a bag but not the chemical fertilizer that they sell).
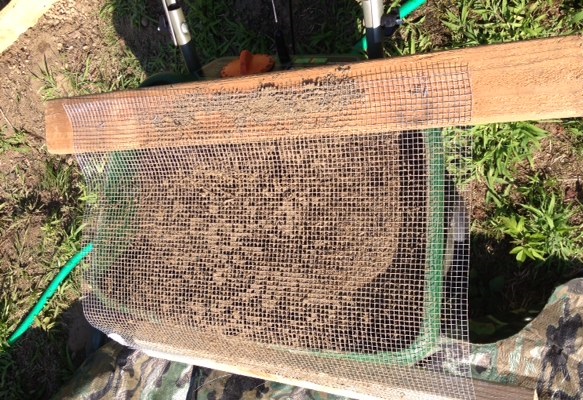 The next thing I had to do was sift the soil to get rid of all the rocks and pebbles. This took a while and plenty of elbow grease. I was amazed to learn that my local home improvement stores did not have a sifting machine or tool in stock, so I had to fashion one by attaching mesh wire to two pieces of wood (I’ve since learned that there are a few options available online). I attached this primitive tool to the top of a wheelbarrow, scooped dirt on top and sifted it by hand. This took about two days to complete. I just put my gardening hat on, put my headphones on, turned on a good audiobook and got to work.
Much like life, you can’t have consistent growth without a proper foundation. So I knew this soil had to be just right.
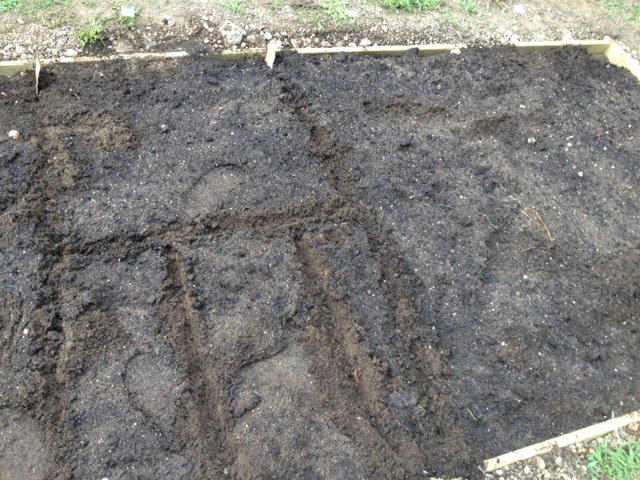
 After I finished sifting the dirt, I had the cleanest, smoothest patch of soil I had ever seen. The hard work was worth it. It was silky smooth, loose and fell right through my hands. (Keep in mind that if it rains you should cover the area unless you want to wait days for the soil to dry again.)
Sow a thought and you reap an action; sow an act and you reap a habit; sow a habit and you reap a character; sow a character and you reap a destiny.
– Ralph Waldo Emerson
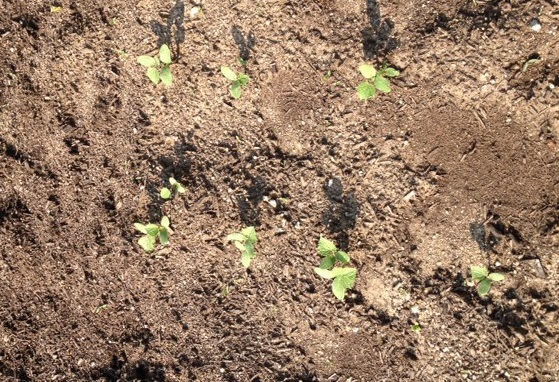
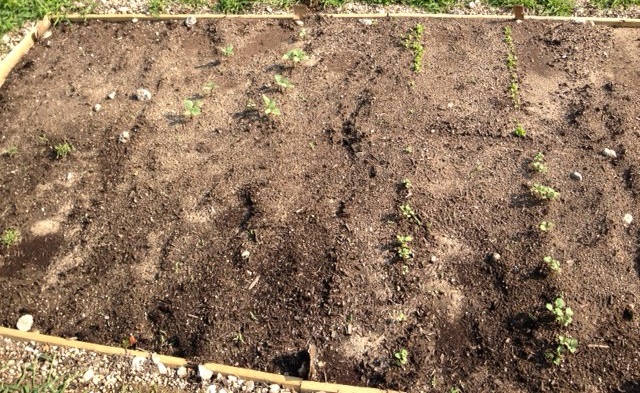
 After adding the wooden planks around the garden I knew it was time for planting seeds. I purchased an heirloom seed pack from Amazon, which I highly recommend. They’re called “survival seeds” because you can harvest and replant them over and over into eternity (non-GMO). The pack I bought has a wide variety of vegetable seeds including carrots, tomatoes, lettuce, peppers, onions, cilantro, broccoli and more. I drew a plan on a piece of paper and divided the area of the garden into clearly defined sections. I followed the directions on each seed pack, being careful to leave plenty of space between each line of seeds. I then used my hands to carefully cover up each line of seeds with my hands.
When you focus on being a blessing, God makes sure that you are always blessed in abundance.
– Joel Osteen
Gardening requires lots of water — most of it in the form of perspiration. – Lou Erickson
A blessing is a circle of light drawn around a person to protect, heal and strengthen.
– John O’Donohue
If you really want to keep all sorts of animals away from your garden, there’s a product sold in stores that smells like fox urine. It has to be applied in certain areas of the yard to ward off woodland creatures — just follow the instructions perfectly. I didn’t use it, but that’s up to you and what you feel is necessary.
It is not how much you do, but how much love you put in the doing.”– Mother Teresa
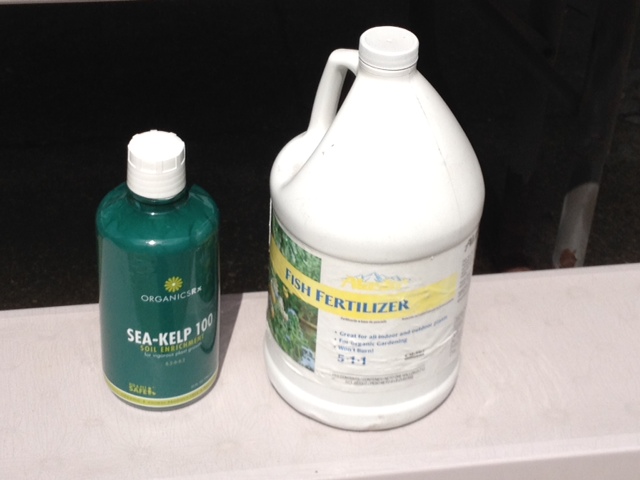 You’re ideally supposed to feed your growing garden at least once per week. I was dedicated to keeping my garden organic, so I researched natural plant food. I purchased Fish fertilizer and Sea Kelp fertilizer for my garden. There’s also a product that combines the two. Every week, I filled up my spray bottle (it attaches to a hose) with a mixture of the two products and fed my garden while humming a tune or listening to my audiobooks. I loved every bit of it. I loved my garden and I believe that is why it grew so beautifully.
With every deed you are sowing a seed, though the harvest you may not see.
– Ella Wheeler Wilcox
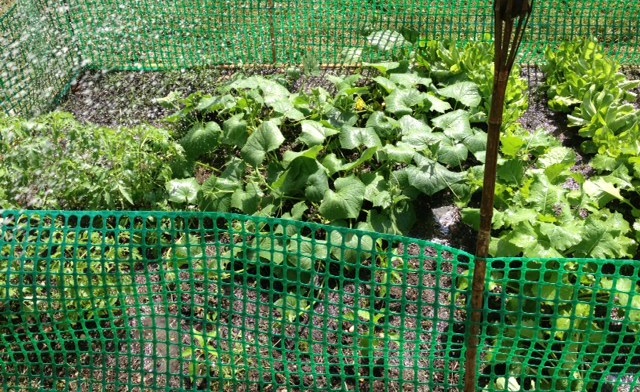
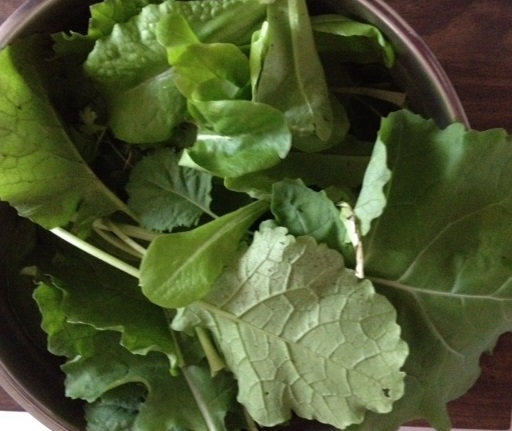
 The last and possibly most satisfying step of growing your first organic vegetable garden is enjoying the fruits. I was so excited when my first cucumber appeared — it seemed to have grown overnight, which I have since learned is common with cucumbers. It was so fresh and delicious.
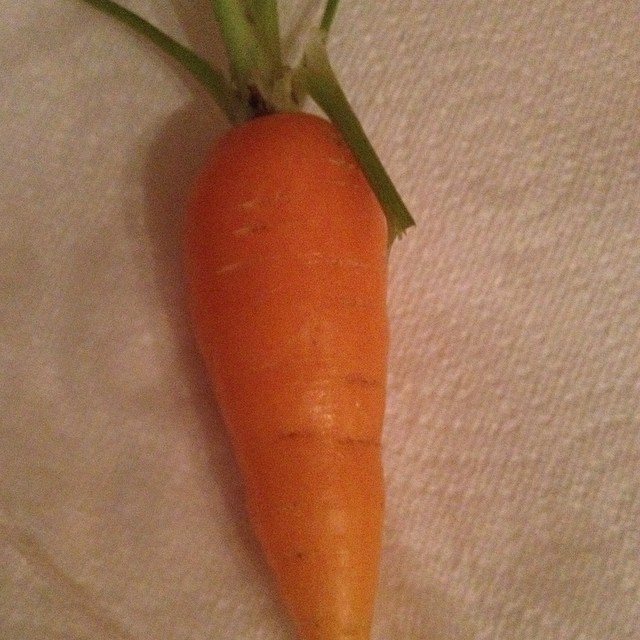 to use in my salads and greens to make with meals during the week. I call it “healing food” because it is so rich in healthy vitamins, nutrients and love that you put in it. Soak the veggies and wash them very good before eating. There were also instructions on my seed pack for how to save the seeds for future planting.
 I hope that this fairly long article has helped you get motivated to start your very own first time organic garden. I can’t believe I waited until now to get started — gardening is so rewarding. I don’t know why, but for some reason I never thought that I could ever grow my own vegetables. That’s nonsense — anyone with patience and the right tools can have a green thumb. It was a learning experience on so many levels and a testament to how changing our thoughts can change our lives for the better. Gardening gives me peace and serenity. It also gives me something special to look forward to each day.