• Skip to primary navigation
  • Skip to main content
  • Skip to primary sidebar
  • Home
  • Posts
    • Home Care and Cleaning
    • Home Decor and Design
    • Yard Work & Gardening
    • Food & Recipes
    • Pets
    • Health and Wellness
    • Motivation and Self Help
    • Home Tips
    • Parenting Advice & Tips
    • Parties, Events, Holidays, Fun
    • Things That Make Life Easier
    • Home Finance and Budgeting
    • Shopping Advice
  • Cat Central
  • Share a Home Tip
  • Got a Question?

Loving Our Home | Home Tips, Advice, and Easy Recipes

Simple Home Tips and Solutions

Fried Buffalo Chicken Cut Up Parts (Instead of Wings)

June 18, 2014 By LovingOurHome.com Leave a Comment

Who said buffalo wings could only be made of wings?

The idea for buffalo wings came from someone who wanted to find a use for the previously unwanted wing parts of the chicken. Somehow this person came to the decision to coat them in hot sauce and call them “buffalo wings.”

While sitting outside watching the birds hunt for food, I suddenly got the urge to drink a Corona and fry some wings. I went to the market to get some chicken wings but then I noticed that they had a package of cut up chicken parts for under $5. The chicken parts were the same price as the chicken wings (6 whole wings to a pack) except that they were 3 pounds versus 1 pound.

So I decided to make some buffalo chicken cut up parts.

I got home and started cleaning up the parts. It was surprisingly easy since they were cut pretty small. Here is what they look like:

I prefer to take the fat / skin off the chicken to make it healthier. Like I said, it was easy because they were cut small.

After trimming the fat and rinsing the chicken I filled it up with water and added about a teaspoon of kosher salt. I allowed that to soak for about five minutes then drained it. I’m not 100 percent sure why that’s a necessary step, but that’s how I was taught.

Don’t forget to turn on your oil (peanut oil is all that we use in my household for frying things because it is healthier and tastier than vegetable or canola oil) on a little higher than medium heat so that it’s nice and hot by the time the parts are seasoned.

Next I seasoned the cut up chicken parts with these:

That’s all you need to make some delicious chicken (plus some kosher salt, which isn’t pictured).

I don’t really measure, but I’d say about a few shakes of kosher salt, 2 teaspoons of garlic, 2 tablespoons of paprika, a teaspoon of cayenne pepper and 10-15 turns of your pepper grinder. You have to adjust it according to your taste. Put your fingers in there and mix it up together well.

When you first put your seasoned chicken parts in the hot oil (no more than medium heat) take your time and stand back (I almost lost my eyebrows once in college playing around with oil and high heat). After a while it should settle down and get cooking.

I put in as many parts as could comfortably fit in my frying pan and let them fry for about 12 minutes. Don’t crowd the pan.

This is what they look like when fried.

While frying the next batch, make your buffalo sauce mixture. It’s a combination of:

– your favorite hot sauce (about 2-3 teaspoons to taste)
– ketchup (to your desired thickness but not too much)
– lemon juice (a few squirts)
– olive oil (about a tablespoon)
– a couple of pats of heated butter (for texture)

Adjust these ingredients depending on your dietary needs (you don’t really need the butter). Mix all of them in a bowl and set side. When the wings are finished dip them in your sauce and slosh them around.

This is what fried buffalo chicken parts look like when they’re finished.

They also happen to taste delicious and are very filling (I couldn’t finish them all). I sliced a couple of carrots to put on the side and added some ranch dressing for dipping. Feeds about 4 people (3 really hungry people).

Enjoy!


Posted by: Jasmine

Share this:

  • Click to share on X (Opens in new window) X
  • Click to share on Facebook (Opens in new window) Facebook
  • Click to share on Pinterest (Opens in new window) Pinterest
  • Click to share on Tumblr (Opens in new window) Tumblr
  • Click to share on LinkedIn (Opens in new window) LinkedIn
  • Click to email a link to a friend (Opens in new window) Email
  • Click to print (Opens in new window) Print
  • More
  • Click to share on Reddit (Opens in new window) Reddit
  • Click to share on Pocket (Opens in new window) Pocket

Filed Under: Food & Recipes Tagged With: buffalo chicken parts, buffalo wings, chicken recipes

What Is Your Least Favorite Household Chore?

June 16, 2014 By LovingOurHome.com Leave a Comment

[socialpoll id=”2206377″]

Share this:

  • Click to share on X (Opens in new window) X
  • Click to share on Facebook (Opens in new window) Facebook
  • Click to share on Pinterest (Opens in new window) Pinterest
  • Click to share on Tumblr (Opens in new window) Tumblr
  • Click to share on LinkedIn (Opens in new window) LinkedIn
  • Click to email a link to a friend (Opens in new window) Email
  • Click to print (Opens in new window) Print
  • More
  • Click to share on Reddit (Opens in new window) Reddit
  • Click to share on Pocket (Opens in new window) Pocket

Filed Under: Home Care and Cleaning Tagged With: household chores, polls

Tile Paint

June 15, 2014 By LovingOurHome.com Leave a Comment

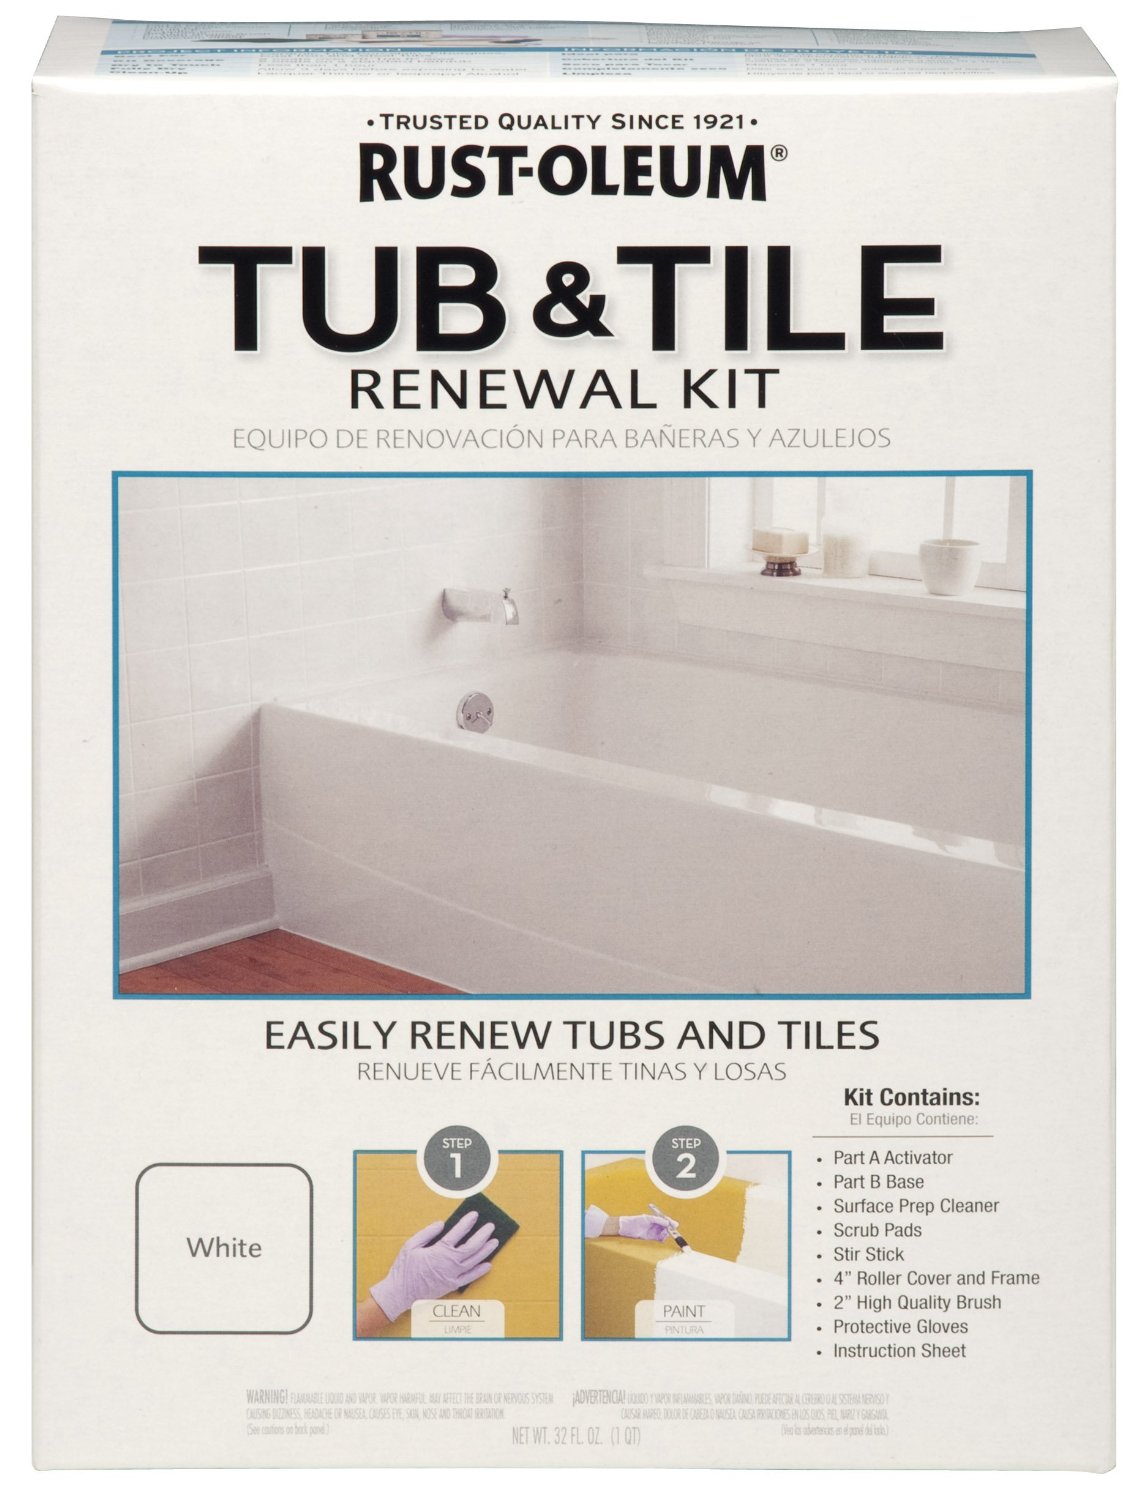
tile paint kit


If you’re looking for a way to renew the look of your tub or bathroom tile, this is the solution. It is a Tub & Tile Paint Renewal Kit.

There’s a two-step process:

1) Clean the tile thoroughly in preparation for the new layer of paint.

2) Paint the tile over using the activator and base provided.

Changing the look of the tile could change the entire look of your bathroom. This product could be a way to avoid an expensive bathroom renovation.

Share this:

  • Click to share on X (Opens in new window) X
  • Click to share on Facebook (Opens in new window) Facebook
  • Click to share on Pinterest (Opens in new window) Pinterest
  • Click to share on Tumblr (Opens in new window) Tumblr
  • Click to share on LinkedIn (Opens in new window) LinkedIn
  • Click to email a link to a friend (Opens in new window) Email
  • Click to print (Opens in new window) Print
  • More
  • Click to share on Reddit (Opens in new window) Reddit
  • Click to share on Pocket (Opens in new window) Pocket

Filed Under: Home Care and Cleaning Tagged With: tile paint

My First Trap, Neuter, Return TNR Experience (Advice, Tips and Pics Included)

June 15, 2014 By LovingOurHome.com Leave a Comment

Recently I successfully completed my first TNR which is short for Trap Neuter Return. You trap a feral cat, get him neutered (or spayed for a female) and then return him to the Great Outdoors. It is beneficial to the cat, the kittens it wouldn’t be able to support on its own and the neighborhood as a whole. Knowing how simple the process is now, I wish I would have done this years ago.

I remember calling the local animal shelter to ask about how I can get a trap to set outside. They said all the traps were being used but they could put me on a list. I’m still waiting for them to call me back about that list.

I had a “duh” moment when I realized recently that animal traps can be purchased online for like $40 and you can use them over and over. Why didn’t they just tell me that??

trapneuterreturn3

* Side note: these can also be used to trap raccoons, possums, squirrels and other pests. Pest control companies will charge $150+ to set the trap and then another fee to remove the raccoon or possum. Just buy the trap, catch the pest and pay someone for the pest removal.

Setting the Trap
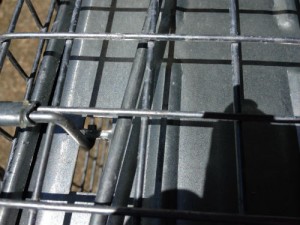
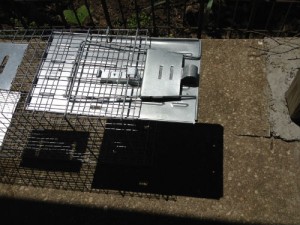
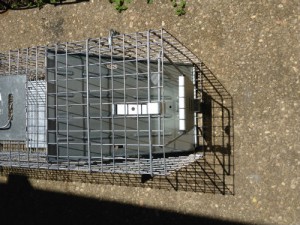
I got the cat trap in the mail and soon learned how easy it was to set. The mechanism of the trap causes it to close as soon as the cat steps on a certain spot near the back. To set it you push up the door and hook a small lever into a latch. It is easy once you play around with it and give it a try, but be careful when putting the bait food at the back because it’s rigged to snap closed quickly.

See the little latch? That's what you use to set the trap mechanism.
See the little latch? That’s what you use to set the trap mechanism.

traplatch1

trapneuterreturn2

trapneuterreturn1

The Bait
You have to choose your bait wisely when trying to trap cats because they are very smart and crafty. If the cat is very hungry he will probably walk into the trap no matter what kind of food is in there. A plain old can of wet cat food will do.

But if you have a cat that won’t willingly go, you have to offer some irresistible bait like tuna or sardines. It has to be very smelly to attract their attention. Leave a trail of the food leading into the trap if necessary.

When the Cat is Caught
The cat is going to freak out for a while after getting stuck in the trap. It’s best not to even watch because you might be tempted to let him go. Once you let him go there’s a slim chance he’ll ever fall for it again!

After about an hour, he will calm down and sit. Cover the trap with a burlap sack or blanket to keep him calm until you take him to the vet. I had to leave this one in there, covered, overnight.

The Vet Visit
Find a TNR vet in your area. They usually offer affordable spaying and neutering for feral cats. The one I found charges about $60 per cat (including shots). You’ll probably need to drop the cat off at a certain time and pick him up later. TNR programs know how to deal with feral/wild cats that aren’t used to being handled.

When I dropped off the feral cat I trapped the lady explained that older cats don’t always wake up from the surgery and that I had to sign a release. I was a bit sentimental, having known this particular feral for years, but I knew that it was necessary.

Thankfully this cat made it through just fine. They gave me a sheet full of instructions and his rabies shot credentials to take home. I waited another 24 hours, giving him a comfortable spot next to the house (the weather was warm) to sleep overnight, and then released him in the afternoon. He shot out of the cage, looked back at me for a moment, and then disappeared somewhere.

I smiled. Mission accomplished!

Posted by: Jasmine

Share this:

  • Click to share on X (Opens in new window) X
  • Click to share on Facebook (Opens in new window) Facebook
  • Click to share on Pinterest (Opens in new window) Pinterest
  • Click to share on Tumblr (Opens in new window) Tumblr
  • Click to share on LinkedIn (Opens in new window) LinkedIn
  • Click to email a link to a friend (Opens in new window) Email
  • Click to print (Opens in new window) Print
  • More
  • Click to share on Reddit (Opens in new window) Reddit
  • Click to share on Pocket (Opens in new window) Pocket

Filed Under: Cat Central, Pets Tagged With: feral cats, pet advice, pet tips, tnr, trap neuter return

Spring Cleaning Tips

June 14, 2014 By LovingOurHome.com Leave a Comment

Spring cleaning your home allows you to give your home a fresh, clean, rejuvenated appearance. Here are a few tips to accomplish this goal.

Wash All Of Your Curtains
Curtains hold household dust, sometimes not seen by the naked eye. Curtains, also can absorb the every day cooking and pet odors, especially during the winter months because you tend not to air our your house as much, due to the cold temperatures.

To assist in adding a fresh scent to your home, purchase your favorite fabric softener to add to your rinse. When curtains are then rehung in the home, your home will be filled with your most pleasurable scent. Keep in mind the manufactures instructions on how to properly wash your individual curtains. Personally, in my home, I add a touch more fabric softener to the rinse, put my curtains through the spin cycle twice ( to eliminate excess moisture) and rehang my curtains damp on a bright and sunny day with all possibles windows open to aid in the air drying process.

Clean Your Carpets And Flooring
Trust me when I say, floors and carpets are full of germs and odors. They really take a beating, especially in the winter because of all of the contaminates brought into the home from outside to manage snow, ice and sleet. More prominent are when pets and children track those contaminates indoors.

I suggest that you purchase or rent a carpet cleaner from your local supermarket. I strongly recommend cleaning your carpets more than once with the proper cleaning solution added. Clean your carpets at least twice or until the water returns to the cleaner with a clear appearance. On the last pass over the carpet, in my home I add a bold scented fabric softener to the water container. I do this to add more fragrance to the clean carpet.

As for your hard surface flooring, I recommend that you first sweep and/ or use a vacuum to remove dirt and sand from the crevices in the floor. Then use a mop and bucket filled with the proper floor cleaning solution and warm water to remove the dirt/grime from the floor. Then allow your floor to fully dry. A tip is to open the main windows in the house to create a breeze to aide in the drying process. After floor is fully dry, wax your floor with the proper waxing solution. This will give your floors a nice, clean shine to the floor’s appearance.

Walls & Baseboards
A lot of dust, pet dander/hair, attaches itself to your walls and baseboards during the winter months. What I am going to suggest may sound like a cruel punishment, but it will really make a difference!!

First, I highly recommend that you dust the baseboards and walls with a microfiber cloth. This is a very important step, because if you do not dust, the dust/ hair will noticeably clump up on the wall or baseboard. The next step is to get a bucket of warm water and add a drop of an all purpose household cleaner to the water. Use a terry cloth to wipe walls and baseboards. However, keep in mind, the type of wall paint finish ( flat, satin, glossy etc… ) that you have, will let you know if an additive can be added.

Happy cleaning!

Posted by: Eve

Share this:

  • Click to share on X (Opens in new window) X
  • Click to share on Facebook (Opens in new window) Facebook
  • Click to share on Pinterest (Opens in new window) Pinterest
  • Click to share on Tumblr (Opens in new window) Tumblr
  • Click to share on LinkedIn (Opens in new window) LinkedIn
  • Click to email a link to a friend (Opens in new window) Email
  • Click to print (Opens in new window) Print
  • More
  • Click to share on Reddit (Opens in new window) Reddit
  • Click to share on Pocket (Opens in new window) Pocket

Filed Under: Home Care and Cleaning Tagged With: cleaning baseboards, cleaning tips, spring cleaning

Oldest Child Syndrome

June 14, 2014 By LovingOurHome.com Leave a Comment

Of course, as parents we all want to provide our children with a better existence than we had growing up. What I realized with raising my own three children, is that they all have different personalities and quirks. Therefore, they all required their own “style” of parenting from me. For example, my eldest child stated that she was unhappy, having to tend to her siblings after school until I returned home from work. We had several arguments/ disagreements on this issue between her and I.

I attempted to explain the reasons why I depended on her to watch her siblings, was most of all, financial. She replied, stating her most true inner feelings. She stated love for her siblings, yet, she felt that she had “no life”. She made me aware of the after school functions she was unable to attend due her her responsibilities to her siblings. I took the night to think of all of what she had said to me.

While rehashing the conversation in my mind that night, a sadness came over me because she was absolutely right! I awoke the next morning desperately wanting to apologize to her for my mistake I made as a parent. I went into her bedroom to speak with her before she went to school that morning. I expressed my sorrow to her for not realizing that the responsibilities that I had given her were severely overwhelming to her teenage life. I then told her that I had made permanent arrangements for after school care for her siblings. Basically, informing her that her services were no longer needed after school. She was now free to enjoy all of her after school functions and/ or just hang out with her friends. She had tears in her eyes and breathed a sigh of relief that I have never her from her before.

To conclude, as loving and caring parents our main goal is to ensure that all of our children experience the greatest childhood possible. As parents, we must learn to “truly” listen and absorb their inner most feelings with compassion. I have learned a life lesson from my eldest child that helped me with future decision making with my remaining children. The lesson of this blog is to let parents know that we can learn lessons from our children, if we listen to them.

Posted by: Eve


Share this:

  • Click to share on X (Opens in new window) X
  • Click to share on Facebook (Opens in new window) Facebook
  • Click to share on Pinterest (Opens in new window) Pinterest
  • Click to share on Tumblr (Opens in new window) Tumblr
  • Click to share on LinkedIn (Opens in new window) LinkedIn
  • Click to email a link to a friend (Opens in new window) Email
  • Click to print (Opens in new window) Print
  • More
  • Click to share on Reddit (Opens in new window) Reddit
  • Click to share on Pocket (Opens in new window) Pocket

Filed Under: Parenting Advice & Tips Tagged With: oldest child syndrome, parenting advice, raising children, raising kids

  • « Go to Previous Page
  • Page 1
  • Interim pages omitted …
  • Page 46
  • Page 47
  • Page 48
  • Page 49
  • Page 50
  • Page 51
  • Go to Next Page »

Primary Sidebar

Categories

  • Beauty Tips
  • Cat Central
  • Dating, Love and Relationships
  • Food & Recipes
  • Health and Wellness
  • Home Buying or Renting
  • Home Care and Cleaning
  • Home Decor and Design
  • Home Equipment and Appliances
  • Home Finance and Budgeting
  • Home Improvement
  • Home Tips
  • Life Thoughts by Jas
  • Light Simple
  • Motivation and Self Help
  • Parenting Advice & Tips
  • Parties, Events, Holidays, Fun
  • Pest Control
  • Pets
  • Product Reviews
  • Quick Tips
  • Quotes
  • Shopping Advice
  • Special Deals
  • Summer Products
  • The Funnies
  • Things That Make Life Easier
  • Uncategorized
  • Yard Work & Gardening

Copyright © 2025 · Genesis Sample on Genesis Framework · WordPress · Log in